
You may notice when using Armory that some functionality that is available in Haxe traits isn’t available in Nodes in the Logic Editor. If you prefer to work mostly in Nodes you will be happy to know that you can easily create your own nodes and extend the functionality of the Armory engine. That is exactly what we are going to do in this tutorial. Right now, for example, you currently can’t set the active camera using Nodes, but you can using the Haxe language. This is a perfect example to demonstrate how to implement your own nodes.
There is a fair bit of setup required in this process. First, you need to have a project file configured. In the folder containing your project file create a folder called Libraries.
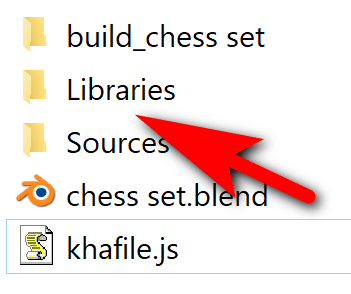
Inside that folder create a new folder for your extension, the name doesn’t really matter, I called mine MJFNode. Inside that folder, we need to create a python file that describes our new node to Blender. Create a file called blender.py and enter the following code:
import bpy
from bpy.props import *
from bpy.types import Node, NodeSocket
from arm.logicnode.arm_nodes import *
import arm.nodes_logic

class SwitchCamera(Node, ArmLogicTreeNode):
    '''SwitchCamera'''
    bl_idname = 'LNSwitchCamera'
    bl_label = 'Switch Camera'
    bl_icon = 'GAME'

    def init(self, context):
        self.outputs.new('ArmNodeSocketAction', 'Out')
        self.inputs.new('ArmNodeSocketAction', 'In')
        self.inputs.new('ArmNodeSocketObject', 'Camera Object')


def register():
    add_node(SwitchCamera, category='Value')
    arm.nodes_logic.register_nodes()
This example declares a new class called SwitchCamera then in its constructor init() we simply define the inputs and outputs that our node is going to have. In this case, we have only a single parameter, an ArmNodeSocketObject that receives the camera object to switch to. The final ins and outs in this example are the in/out actions enabling you to connect to and from the node. Finally in the register() function we simply add the node to Blender, registering it with armory with a call to register_nodes(). Notice the category in add_node(), this is the menu the node will appear under in the logic editor.
The following are the types of sockets that can be used as input or output nodes:
- ArmNodeSocketAction
- ArmNodeSocketObject
- ArmNodeSocketAnimAction
- NodeSocketShader
- NodeSocketInt
- NodeSocketFloat
- NodeSocketString
- NodeSocketBool
- NodeSocketVector
- NodeSocketColor
Categories include:
- Logic
- Event
- Action
- Value
- Variable
- Input
- Array
- Animation
- Physics
- Navmesh
- Sound
- Native
- Canvas
Now in this folder create the folders Sources\armory\logicnode\. Your final path should look something like:
![]()
Then create a new file in this directory named SwitchCamera.hx. This is where the logic of our node will be implemented.
package armory.logicnode;

import iron.math.Mat4;
import iron.math.Vec4;
import iron.math.Quat;

class SwitchCamera extends LogicNode {
  public function new(tree:LogicTree) {
    super(tree);
  }

  override function run() {
      var camera = inputs[1].get();
      iron.Scene.active.camera = iron.Scene.active.getCamera(camera.name);
      super.run();
    }
}
Run() is called when your node is run. Notice how we can access the inputs we defined in the python definition via the inputs[] array. In this case, all we do is set the active camera to the camera we passed in from our node.
You need to restart Blender and re-open your project. Check the console to make sure nothing went wrong. Now if you head into the Logic Editor, your node should now appear. I created the following simple graph to demonstrate this new node in action:
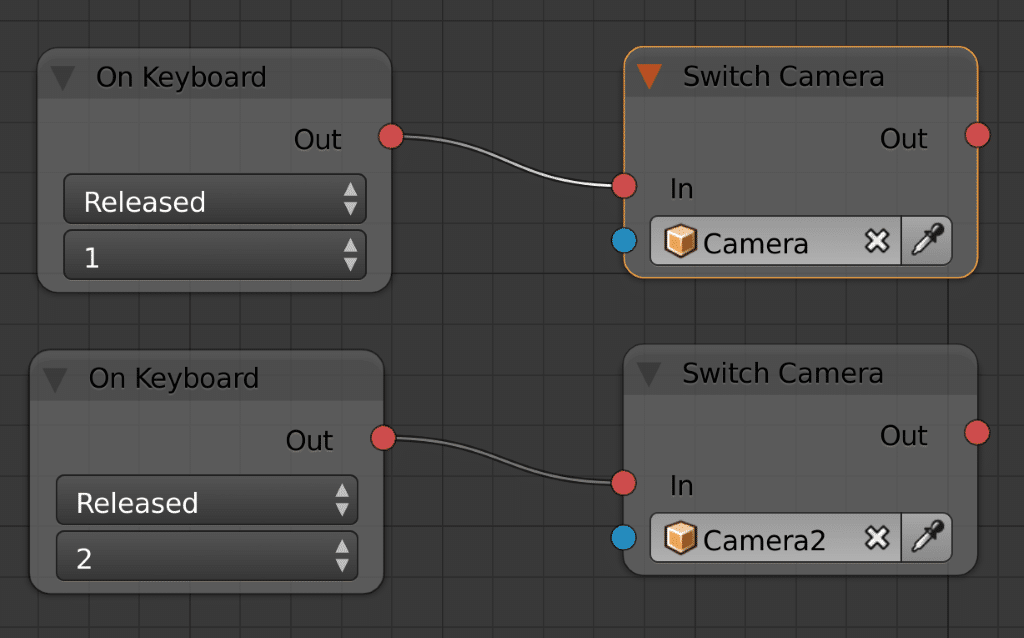
Of course, this scene assumes that you have two cameras in your scene, Camera and Camera2. Pressing the 1 and 2 key will toggle back and forth between them. If you want to dig into some examples showing how to implement custom nodes be sure to check out this repository with half a dozen examples. In fact, since this is an open-source project you can jump in and see the code for all the nodes built into Armory. The python definitions are available here while the Haxe implementations are available here.