Introduction
Tilemaps are a popular way of composing 2D levels. A Tilemap is a collection of tiles, which can basically be thought of like lego blocks that you snap together to make a game level. You can make multiple tilemaps and layer them over top of each other. While Cocos Creator supports tilemaps, it doesn’t have the ability to create them. Instead, you create a .tmx file in an external program, the most common of which is the cross-platform open-source Tiled map editor.
Tilemaps in Cocos Creator
To get started you are going to need a tmx file as well as whatever source images your tilemap used. In this case, I am going to use one of the samples included with Tiled. In the Tiled install directory ( C:\Program Files\Tiled\ by default on Windows ) there is a folder called Examples. Simply select the files sewers.tmx and sewers_tileset.png and drag/drop them into the assets folder in your project in Cocos.
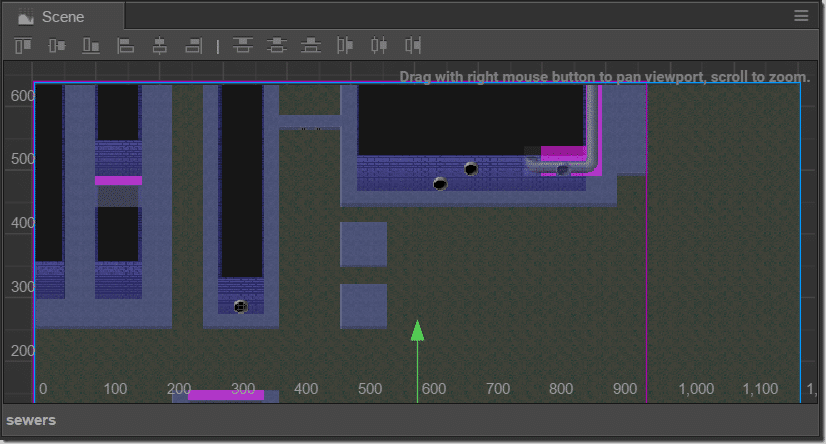
Now you can create an instance of the tilemap by dragging the tmx file onto your level.
In addition to the tilemap, it will create child nodes representing each layer within the tilemap.
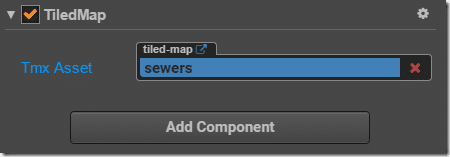
It also creates a TiledMap component, but there are no settings with this component.
Working with the Tiled map editor could fill its own tutorial… thankfully I’ve already created one! You can open your imported tilemap directly in Tiled and any edits you make will immediately be displayed in Cocos.
Now let’s take a look at a simple coding example that shows how to interact with the TileMap using code.
const {ccclass, property} = cc._decorator;

@ccclass
export default class TileScript extends cc.Component {
    start () {
        var tilemap = this.getComponent(cc.TiledMap);
        cc.systemEvent.on(cc.SystemEvent.EventType.KEY_UP,
            this.onKeyUp,this);

        this.node.on(cc.Node.EventType.MOUSE_DOWN,(e:cc.Event.EventMouse)=>{

                var tilePos = new cc.Vec2(0,0);
                tilePos.x = Math.floor(e.getLocationInView().x / tilemap.getTileSize().width);
                tilePos.y = Math.floor(e.getLocationInView().y / tilemap.getTileSize().height);

                var tile = tilemap.getLayer("Bottom").getTileAt(tilePos);
                if(tile){
                    console.log("Clicked tile");
                    if(e.getButton() == cc.Event.EventMouse.BUTTON_RIGHT){
                        tilemap.getLayer("Bottom").removeTileAt(tilePos);
                        console.log("Removed");
                    }
                }
         });
    }
    onKeyUp(e:cc.Event.EventCustom){
        if(e.keyCode == cc.KEY.q){
            this.getComponent(cc.TiledMap).getLayer("Bottom").enabled = !this.getComponent(cc.TiledMap).getLayer("Bottom").enabled;
            console.log("Toggled Bottom");
        }
            if(e.keyCode == cc.KEY.w)
            this.getComponent(cc.TiledMap).getLayer("Top").enabled = !this.getComponent(cc.TiledMap).getLayer("Top").enabled;
    }
}
This example shows how you can select the TileMap component, which in turn has a layer for each layer shown in the Node tree. We can access those layers using getLayer() and in turn, get the individual tile with the 2D array of tiles using the function getTileAt(). You will notice in this example I convert the mouse click position to tile position by dividing it by the width/height of the tiles in the tilemap. All tiles are the same size within the map. Another thing we do in this example is illustrate just how easy it is to enabled and disable layers using the enabled property of the label.


