
In this tutorial we are going to look at the process of creating a dynamic torch using Godot 3.x. The torch flame will be created using a 2D particle system, while lighting will be handled using Light2D dynamic lights. Without further ado, that’s jump in. We want be going through in extreme detail as there is an in-depth step by step video tutorial available (and embedded below).
Here is the end result of this tutorial:
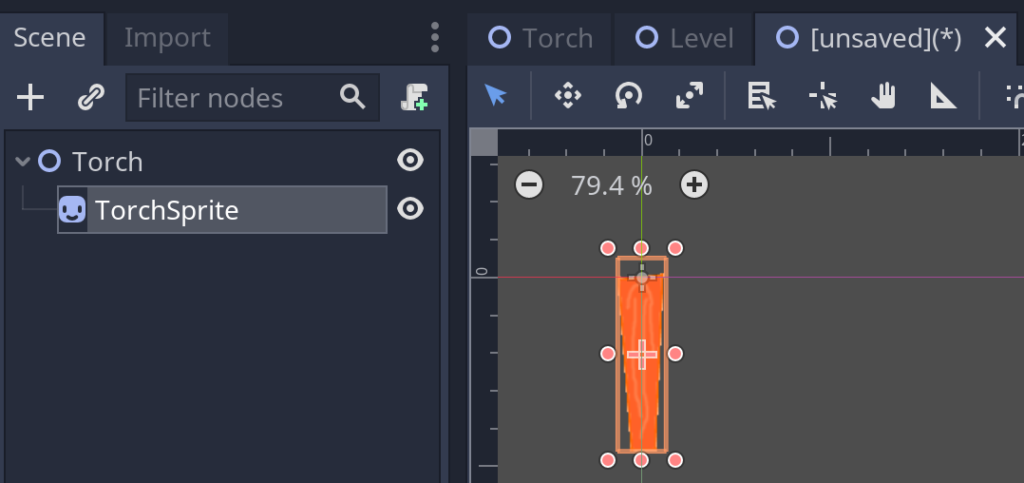
First we need a torch object. I use the following simple and ugly graphic:

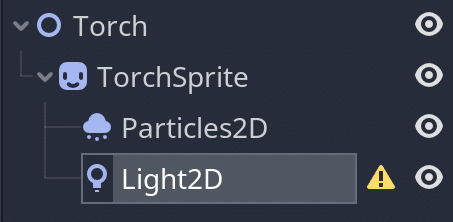
Create a new 2D Scene in Godot and call the root node Torch. Then drag this graphic into the scene and rename it TorchSprite. At this point your “level” should look something like:
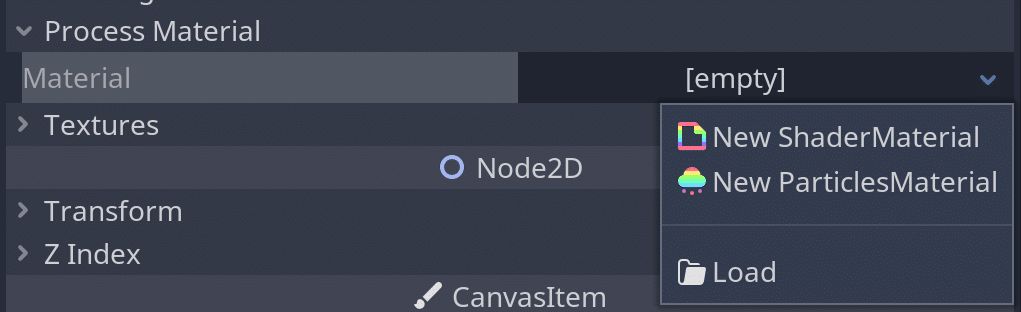
Now we create the new particle system. Select TorchSprite and create a new child node of type Particles2D. You will notice the yellow caution icon beside the newly created particle system. To fix this we need to create the particle material (this is the “particle” that our “system” will spawn. In the Inspector, locate Process Material and select New ParticlesMaterial.
Before we move on to editing the ParticlesMaterial, let’s dial up the number of particles our system is generating, dial up the Amount field to a higher value.

Now let’s edit the newly created ParticlesMaterial, this is where the majority of settings for particles are defined. Right now the particles are being affected by gravity and we don’t want this. Locate the Gravity tab and change the Y value from 98 to zero, effectively turning off gravity.

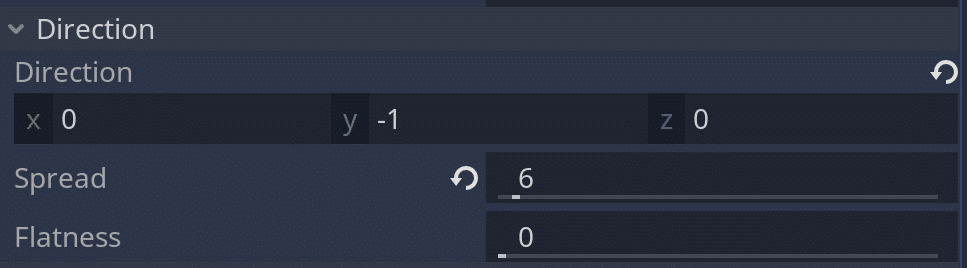
Now we want to change the direction our particles fly to “up”. This is done by changing the direction vector from (1,0,0) to (0,-1,0). Right now our torch is “spraying” way too widely, so let’s tweak that as well by changing the spread from 45 to something smaller like 6 degrees.
Now we want some actual movement in our particles, to do this we set the Initial Velocity to 200, and to give it a bit of variety we set the randomness to 0.5

Our particle system will now look something like this:
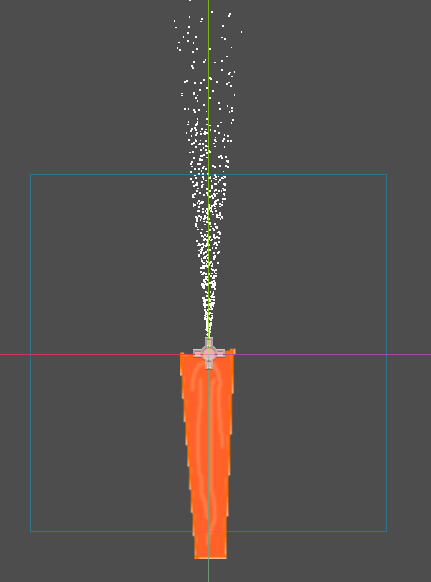
There are two immediate flaws with this approach. First the particles don’t match the shape of our torch, making it look more like a house than a torch. To fix this we change the particle Emission Shape to Sphere and set the radius to match our size, roughly 12.

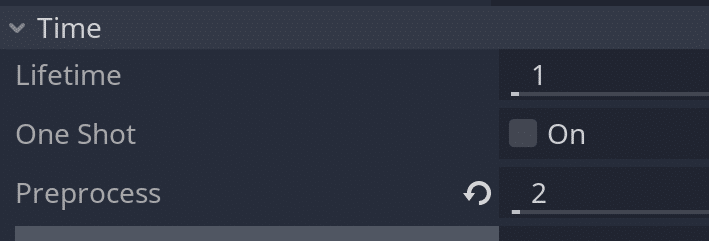
The other catch is a torch doesn’t “spray”, it’s generally on or off. To make it our torch look like a torch from the very first frame, we are going to “pre-cook” the particle system and start it a couple seconds in. Don’t worry, this is easy, just set Preprocess to 2 seconds in the Time category of the Particles2D node:
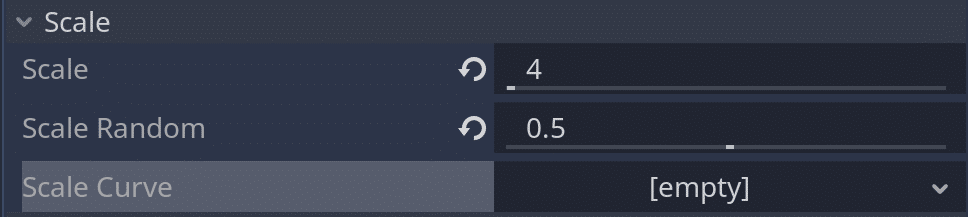
Now finally we want our particles to vary a bit in size, which can be done in the scale section:
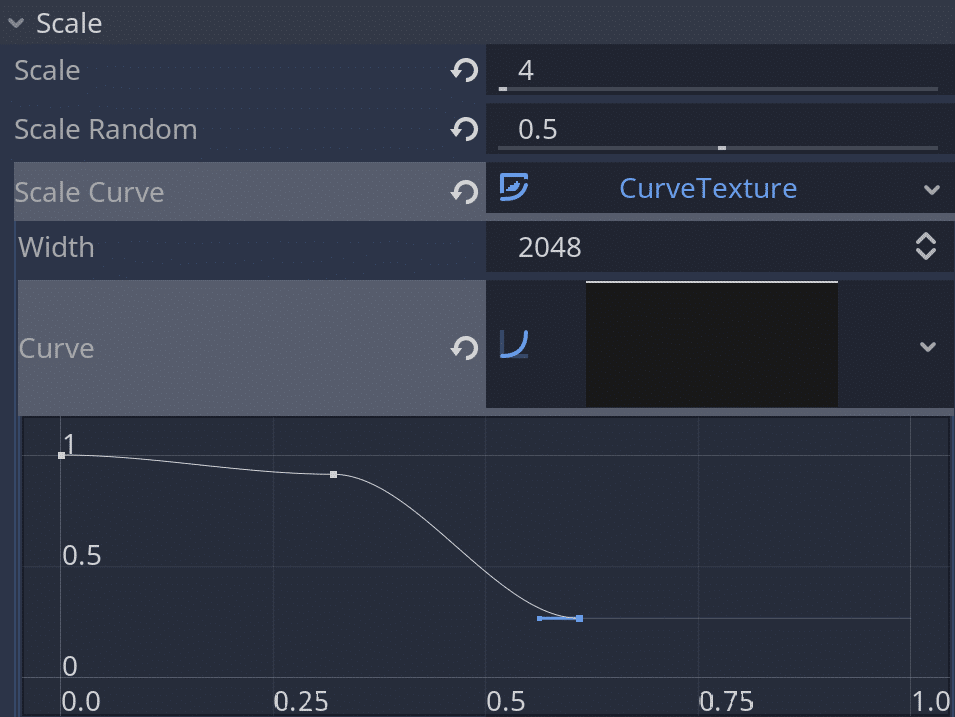
Another interesting thing we can do (and something I forgot to do in the video) is vary the size of our particles over time. Select the Scale Curve drop down and create a new curve. If for example you want the particles to get smaller as they get further away from the torch, you can create a pretty abrupt curve like this:
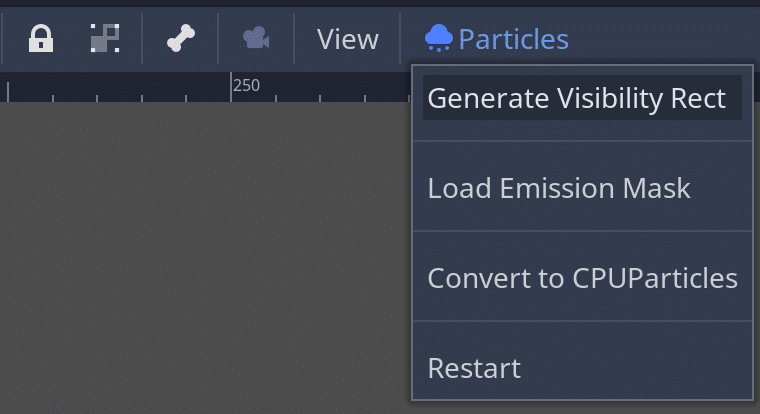
Next lets set the bounds of our newly created and configured particle system by selecting the Particles menu in the viewport (with the Particles2D node selected) and choose Generate Visibility Rect.
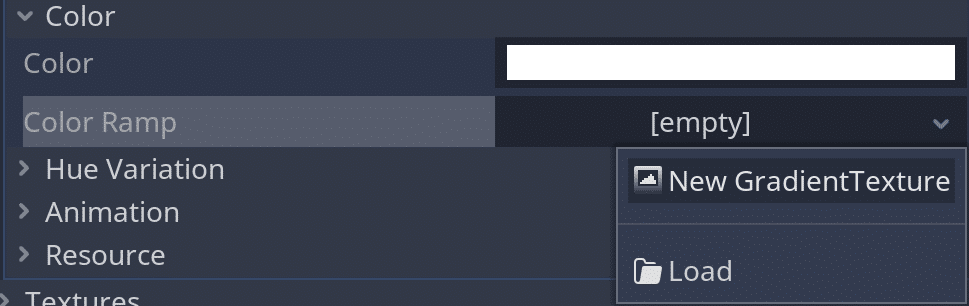
We are almost done with the particle system… all that’s left to do is add colour… colours in fact. Locate the Color section and in Color Ramp create a new GradientTexture.
Now create a new Gradient:
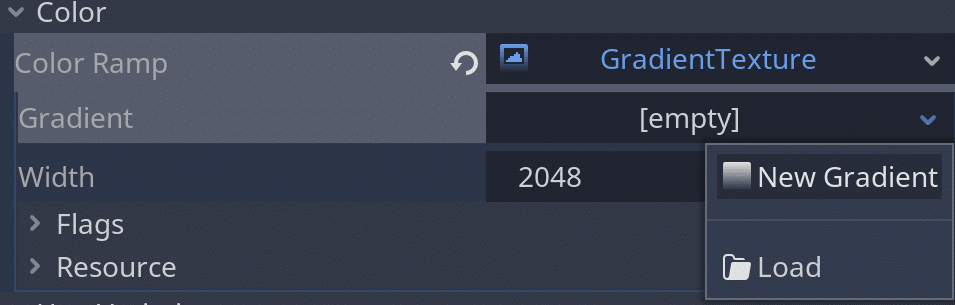
Now create a new 3 point gradient that goes from orange to red to white like so:

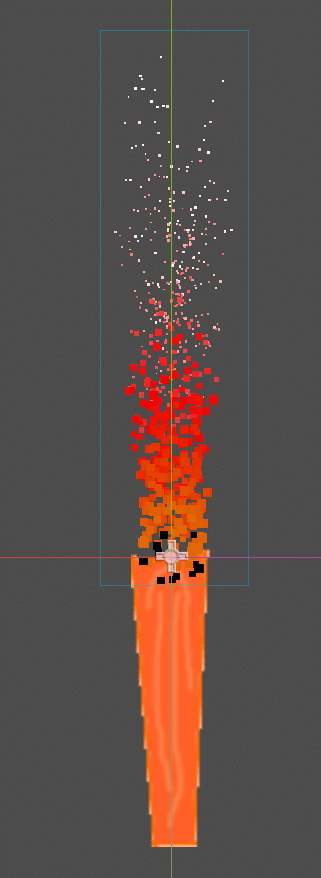
Congratulations, we now have a much more “torchy” looking torch!
Now let’s add some lighting capabilities to it! With the TorchSprite selected, create a new Node of type Light2D.
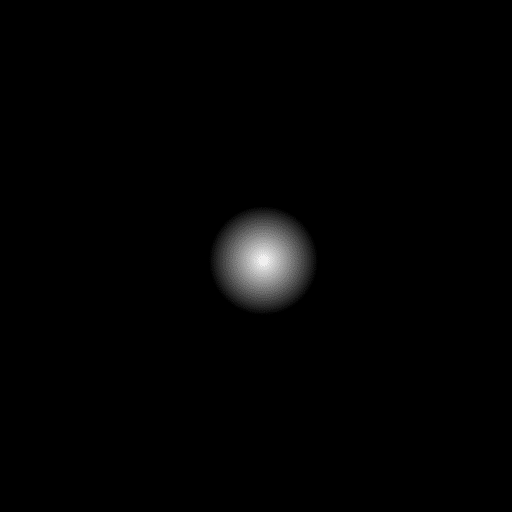
You will notice the warning, this is because we need to provide a texture to represent the light, which is a simple grayscale image representing the light strength. In this case we are going to be masking out the light, that is our torch will be the only source of light in the scene, with all non-light areas being dark. To do this, we use the following lightmask:
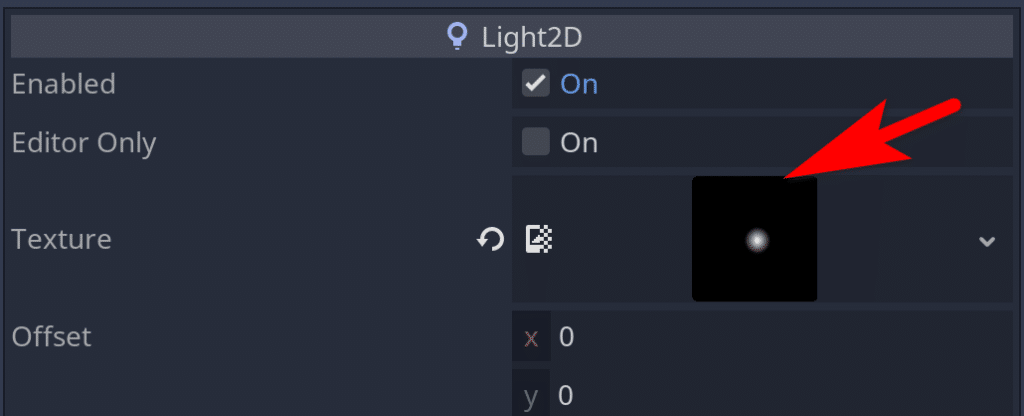
Once you’ve added that image to your project, simply drag it over to the Light2D texture field:
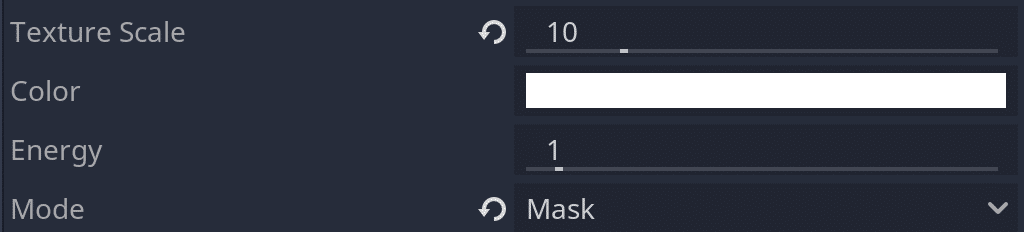
As mentioned earlier we are going to be taking a masked approach, in the same area, set the Texture Scale to 10 and change the Mode to Mask:
Now we can create a simple scene to test our torch in action. If you haven’t already, save your scene as MyTorch.tscn, then create a new scene with some kind of image background sprite. Then we are going to create an instance of our MyTorch node:
And now if you move the torch around the scene, it should look like:
That is it for the text portion of this tutorial. Be sure to check out the video below to see the following additions:
- setting up light occlusions
- casting shadows from our Light2D
- adding an animation to the torch shadow
- moving the torch and resizing the shadow programmatically.