In this chapter, we are going to quickly look at the process of creating a main menu using Defold’s built-in GUI functionality. As we mentioned very early on, various scenes and screens are basically just containers of game objects. Let’s go ahead and create a new folder called mainmenu, then create a collection within called mainmenu.collection. Then open your newly created collection and add a game object to it.
The following process is going to be a bit involved, but don’t worry, there are a lot of steps, but nothing is really all that hard. Let’s make everything we are going to need all at once. In the assets folder, right-click the newly created mainmenu folder and create a New->Gui, then right-click and create a New->Font, and finally create a New->Gui Script. Call everything mainmenu.
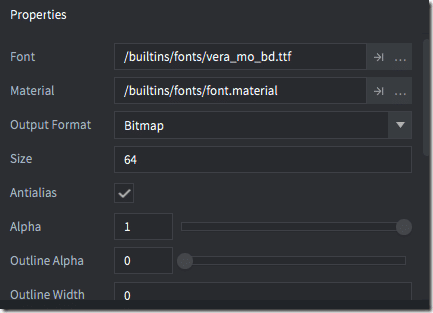
Now, let’s start by editing mainmenu.font. Double click mainmenu.font in the asset view to open it in the editor. In the properties, you can specify the ttf (true type text) file to use for the font, as well as the size of the font you want to create. I stuck with the default but created at 64pt size.
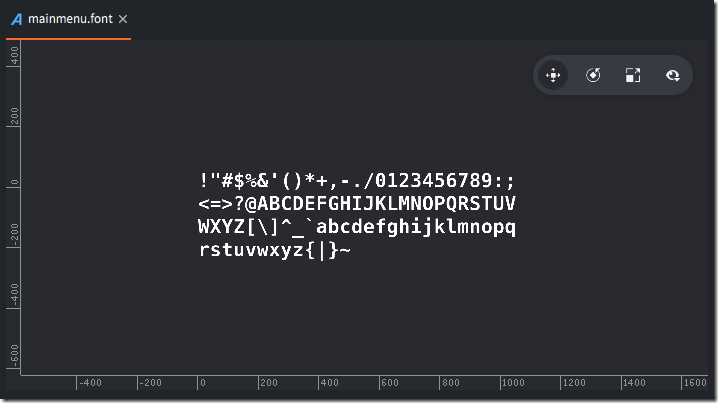
You can see a preview of the font you are generating in the editor view when a font file is active:
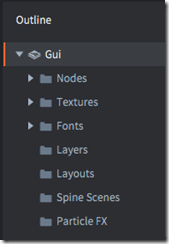
Ok, that’s it for the font. Now let’s open up mainmenu.gui. You can think of a gui file as a project of its own, with its own set of assets. If you look in the Outline view, you will see several different categories. Let’s start with a texture… we are going to use the background image for our game as the background image of our UI.
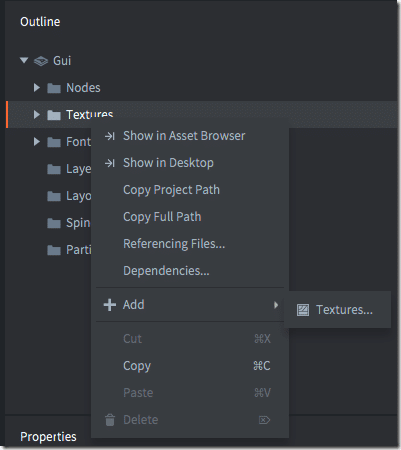
Right click the Textures folder and select Add->Texture
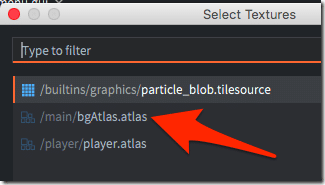
Next select bgatlas
Repeat the process now with the Font folder, right-click, select Add->Font… then select your newly created font object. Now we are ready to get down to business and create our UI!
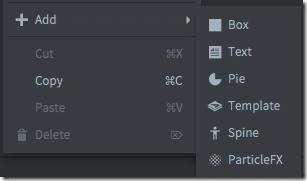
UI’s in Defold are composed of just a handful of different objects. You add objects to the UI by right-clicking the Nodes folder and selecting Add.
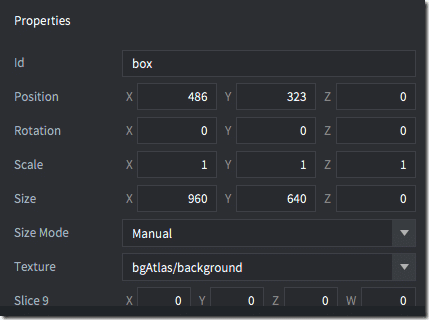
In this simple menu, we are going to just use the Box and Text nodes. Let’s start with a Box that will hold our background image. Right-click and select Add-Box. Then switch to the properties, set the size mode to manual, the Size to match the resolution set in game.project, and choose background for the Texture from bgAtlas.
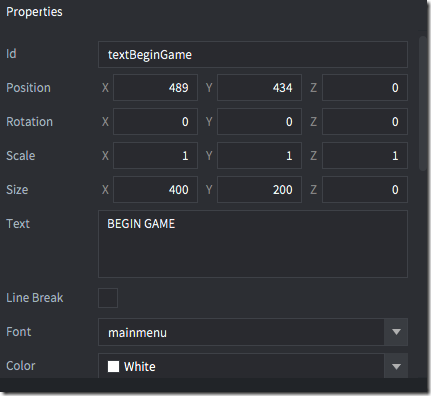
Now create a text node called textBeginGame, give it the text BEGIN GAME and set the font to our newly created mainmenu.font. Position it on screen.
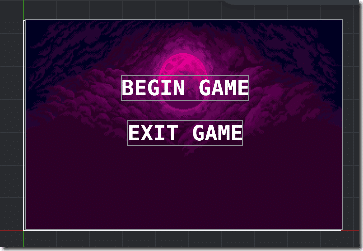
Now Ctrl+C, Ctrl+V the node, rename it textExitGame, and change the text to EXIT GAME. Be sure to reposition it as well. The final results should look like:
And in your scene view:
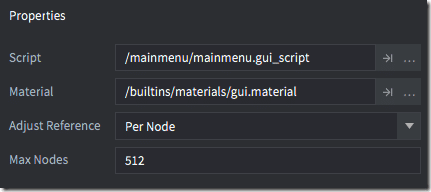
Only two last tasks to accomplish before we move on to adding multi-screen logic to our game… with mainmenu.gui open in the editor, in the outline select the root gui node selected, in properties set the Script property to the mainmenu.gui script we created earlier.
Finally open mainmenu.collection, right-click the game object and Add Component File, selecting our just created gui.
If you want to test out your newly created user interface, change the main collection in game.project to mainmenu.collection and hit play.

