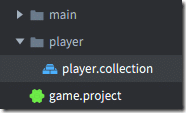
Now it’s time to create a player. This is going to be a collection. Create a folder called player in the root of your project in the Assets view. Then right-click the newly created folder and create a collection called player, like so:
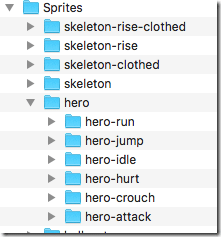
Next, we want to create a player sprite to represent the player, this time we are going to have animations… two, in fact, one for idling, the other for walk/running. In the same archive we downloaded earlier, there are a number of sprite frames we can use for animation. Just like earlier, copy the folders hero-run and hero-idle and drop them into the assets folder.
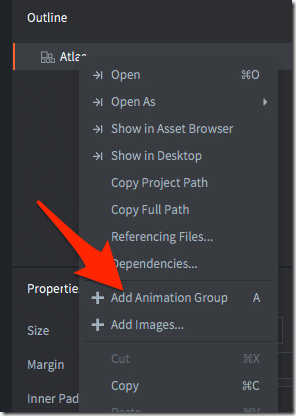
Now we need to create another texture atlas. Right-click the player folder in the Asset view, and select new->atlas. When prompted, name it player. Open the newly created player.atlas and in outline select Add Animation Group.
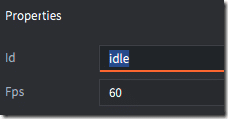
Now rename the animation group to “idle” like so:
While you are there, change the Fps from 60 to the much slower 5. This is the rate our animation will play. So 5 frames per second means that the animation will change 5 times per second.
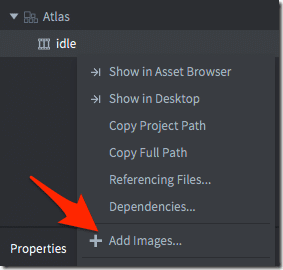
Now select Add Images…
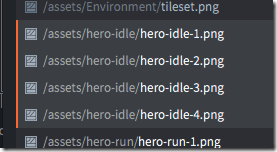
Next shift select all of the idle image files:
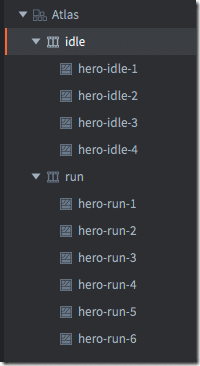
Now repeat the same process, this time add an animation group named “run”, this time adding all of the run frames. Don’t forget to change the fps again. Your end result should look like:
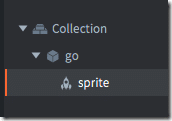
Now back to player.collection. Add a game object to the collection, then add a sprite to the newly created game object.
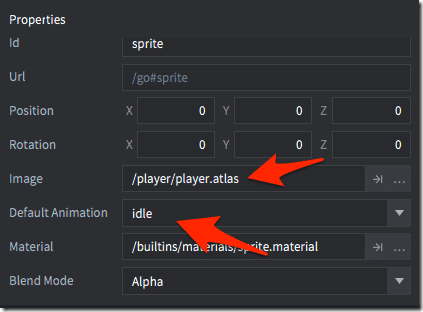
Now we configure the sprite to use our newly created player.atlas, and set the animation to idle, like so:
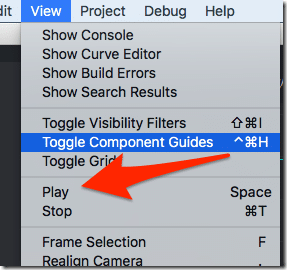
You can preview the default animation using the menu View->Play or by pressing the space bar.
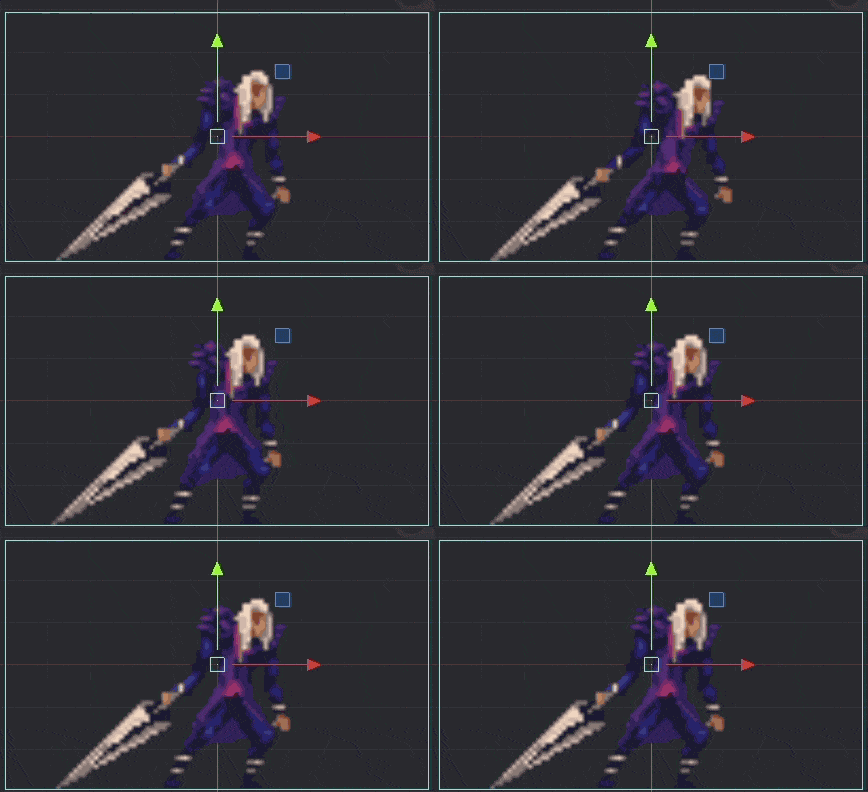
And here is the end result:
Looking pretty good! So… how do we put our player into the game?
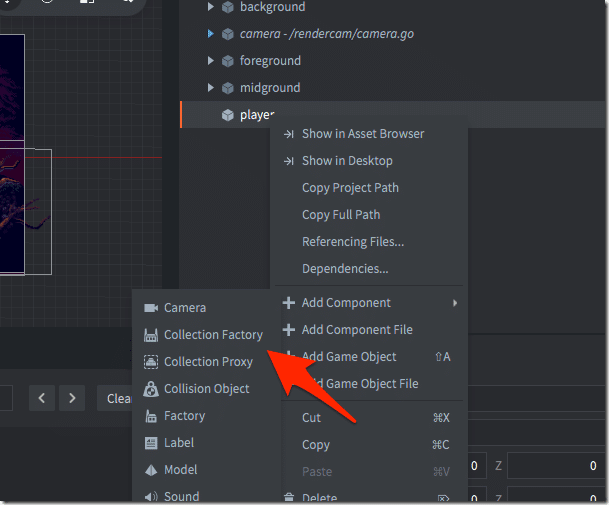
Well head on back over to main.collection, right-click the player game object we created earlier. This time we select Add Component->Collection Factory.
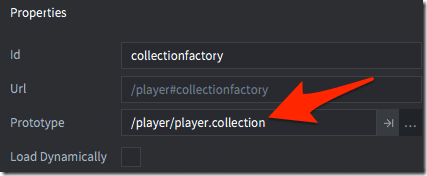
A Collection Factory is a way to programmatically create instances of a collection, just like our player collection. In the Prototype section, select our newly created player.collection.
To actually create an instance of our player collection, we are going to have to finally create a script. Don’t worry, it’s easy.
In the assets view, right-click the main folder, and select New->Script then name it main.script. In the editor, you will see a number of different functions have been implemented in the Lua script. These are called at various points in the program’s lifecycle. In this case, we want to implement the init() function that is used when the game object it is attached to is created. Use the following code:
function init(self)
	collectionfactory.create("#collectionfactory")
end
This code simply creates an instance of our collection factory (by name, this value matches the value in id for our factory).
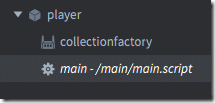
Now that we’ve created our script, attach it to the player game object in main.collection. Like so:
Now when the player game object is created in main, the script will fire, create our player object in the game. You can now position the player in the view by selecting and positioning the player game object. Unfortunately, you won’t see the player until run.
Next, let’s add some input ability to our newly created player.

