Now that we have a player in our world, let’s see how to actually control him by taking a closer look at handling input in Defold. In Defold, input is handled using input maps, where we map different input devices to strings, so you can handle the joystick, touch, mouse, and keyboard input all using the same basic code.
When we created our project, an input map was created for us. It’s in the folder input predictably enough. Locate and double click game.input_binding. If for some reason it is missing, you can create a new one just like any other asset, right-click the asset folder where you want it created and select New->Input Binding.
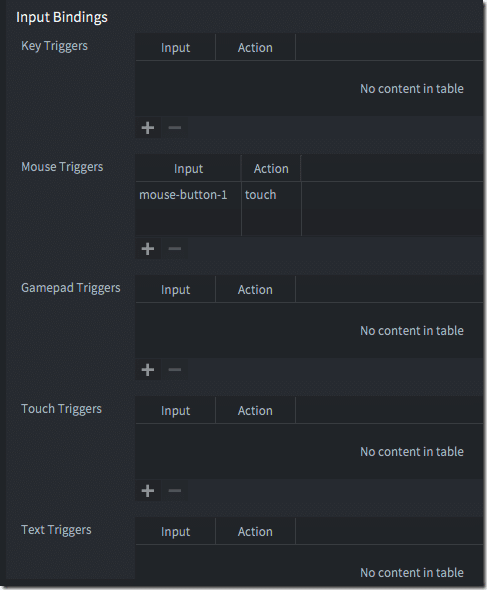
This will open it in a special editor, shown below:
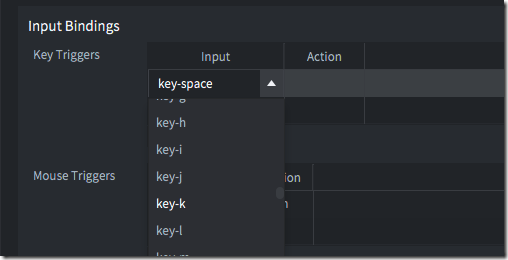
Now it’s simply a matter of picking the type of input you want to handle, clicking the + Icon below, and entering a new binding. Let’s create one for moving left and right using the arrow keys. Click the + icon. This will create a new table entry… start by selecting the key you want to bind to:
Scroll down until you located key-left. Now it’s simply a matter of defining the action to go with that key press. Then in the action area, give it a name. I define MOVE_LEFT and MOVE_RIGHT, for the left and right arrow keys respectively.
Let’s say you wanted to also support a gamepad. It’s easy, simply define actions for MOVE_LEFT and MOVE_RIGHT under the gamepad trigger section. In this case, I map them to left and right on the left d-pad.
Now in code, we can treat the arrow keys and gamepads the same, using a single codebase. On that topic, let’s take a look at the required code. First, let’s go back to player.collection. In asset view, right-click player and choose new->script. Name it player.script. We will then add the following code.
function init(self)
	msg.post(".","acquire_input_focus")
	self.runSpeed = 50
	self.curAnim = "idle"
	msg.post("#sprite", "play_animation", { id=hash("idle") })
	self.speed = vmath.vector3()
end

function update(self, dt)
	local pos = go.get_position()
	if self.speed.x ~= 0 then
		pos = pos + self.speed * dt
		go.set_position(pos)

		if self.curAnim ~= "run" then
			msg.post("#sprite", "play_animation", { id=hash("run") })
			self.curAnim = "run"
		end
	end
end

function on_input(self, action_id, action)
	if action_id == hash("MOVE_RIGHT") then
		self.speed.x = self.runSpeed
		sprite.set_hflip("#sprite", false)
	end
	if action_id == hash("MOVE_LEFT") then
		self.speed.x = self.runSpeed * -1
		sprite.set_hflip("#sprite", true)
	end
end
Don’t forget to actually add the script to our player game object. In the Outline, with the player.collection selected, right-click go and select Add Component File, then select your newly created script.
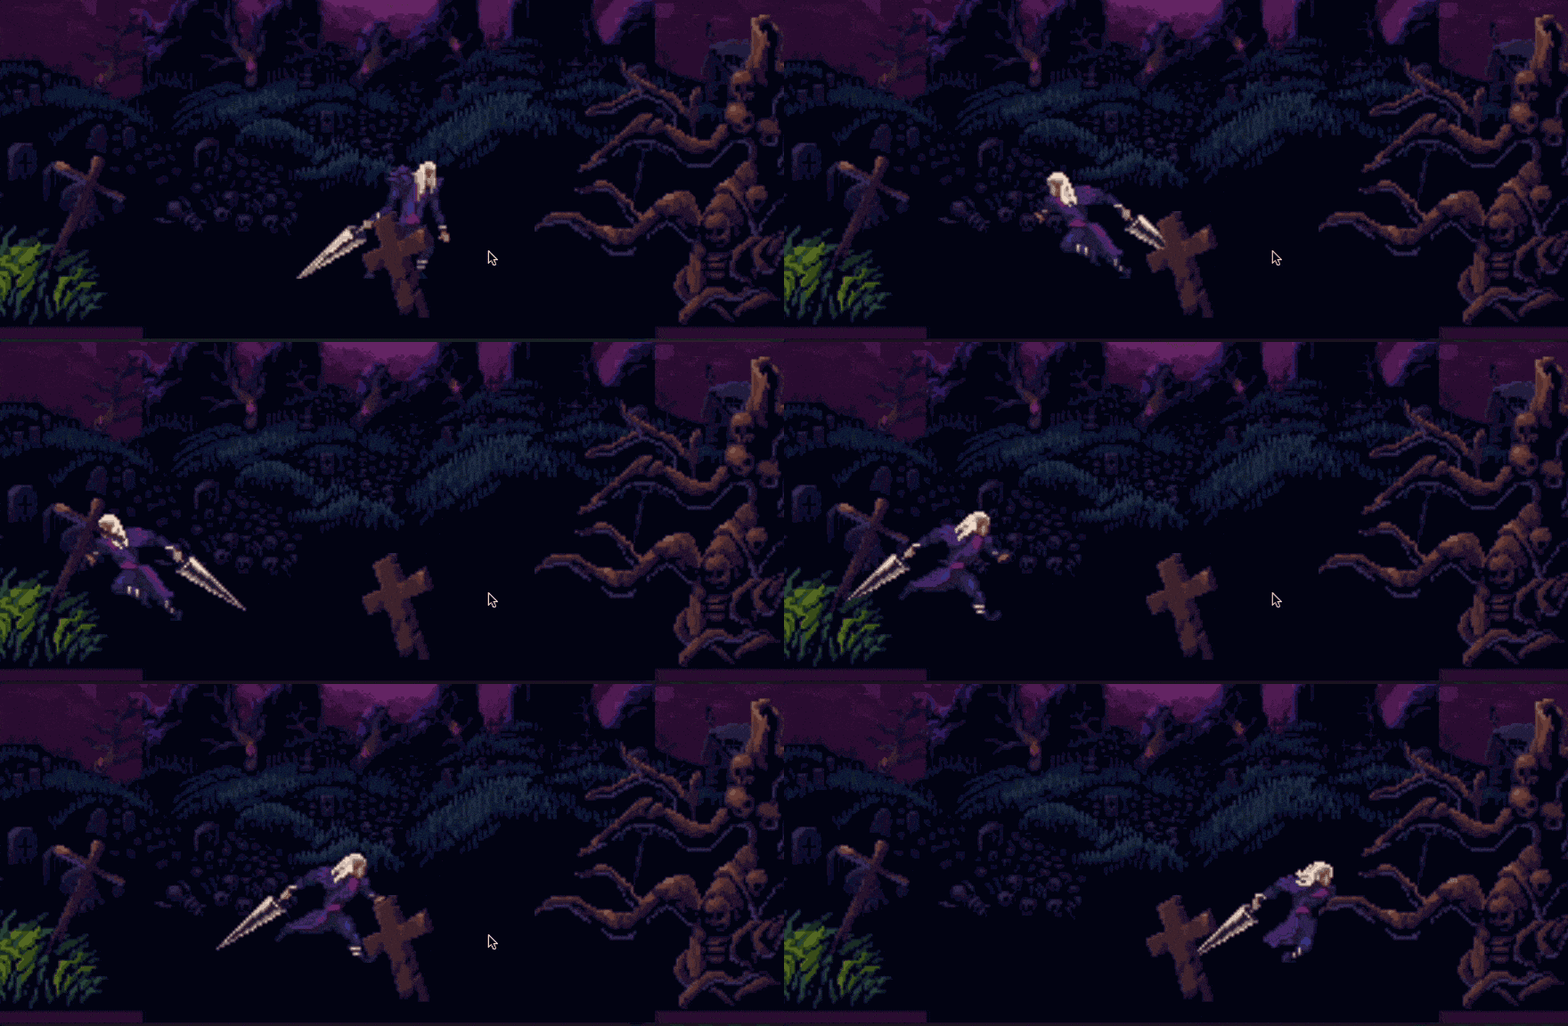
Now let’s run our code and see how things are going…
Hey, we’re starting to look like a real game, aren’t we! Ok, I admit, I totally glossed over the script and what it did. Let’s take a quick step back and look at the scripting process in Defold. You will notice when you create a new script in Defold it creates a number of functions for you, these are callback functions called by the engine at various points in the application’s lifecycle. In every game engine it generally goes:
- Initialize game
- Start game loop
- Check for input
- Update physics
- Draw graphics
- End game loop
- Cleanup
This is the typical lifecycle of the game and functions like init() and update() are called by the engine at various different points. Init() is called once when the game is started and this is where you do your initialization or initial setup stuff. Updated() on the other hand is called in the game loop, every frame of animation it calls back to your code enabling you to add logic to your game objects. There are also special callbacks when events occur, like on_input() shown above. How does the engine know we want to receive input events? That’s what the call msg.post(“.”,”acquire_input_focus”) does. This one says this object (addressed with “.”, Just like “./“ refers to the current directory in a URL or command line) wants to acquire_input_focus, or in other words “hey, we want input events over here!”
Message passing is very important to Defold, it’s generally how you do stuff. Notice for example the call msg.post(“#sprite”, “play_animation”, { id=hash(“idle”) }). This is us sending a message to our child object named sprite, to perform action “play_animation”, with the data id = “idle”. Don’t worry, if you look up game objects, such as sprite, in the Defold documentation it clearly tells you what messages that object responds to. In many ways, you can think of these messages just like calling the function, like mySprite.playAnimation(“idle”) in other game engines. The use of messages enables us to decouple dependencies between objects and allows other objects to easily send messages to and control behaviour of different objects without creating a tight dependency that is a nightmare to debug.
So here we’ve implemented 3 different callbacks, init() when the object is first created. Update() that will be called every pass through the game loop, and finally on_input() which is called whenever input is sent.
In the update() function we simply get the current position of the object and add speed * dt to it. Dt or delta is a value passed into update and represents the amount of time that elapsed since the last time update was called. By multiplying our movement by this value we can operate at the same rate, regardless of the speed of the computer our code runs on. We also check to see if we are moving… if we are, we switch from the idle animation to the running animation. I suppose we should eventually put some code in there that will switch the animation back to idle when the speed drops to zero… hey, it’s an exercise for the reader! 😉
As to on_input(), remember back when we defined MOVE_LEFT and MOVE_RIGHT in our input bindings? Well, this is where we check for them. So if the user hits the left arrow or left on the dpad on their controller, we move to the left (negative x) and flip the sprite horizontally. This saves us from having to define sprites for both left and right movement and saves us work and RAM. Obviously, we do the exact opposite thing if moving right.
Wow, we covered a lot in this chapter/tutorial… how about we do something really easy next?


