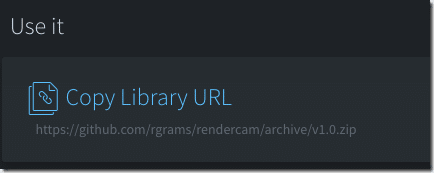
The Defold engine has robust extension support, enabling developers to extend the functionality of Defold. There is also an Asset Portal where the community can share their work. The particular asset we are interested in is the RenderCam project available here. The key thing we want to locate is the URL of the extension.
Click the Copy Library URL link and the URL is copied to your clipboard. Now, remember I said earlier we would be revisiting the game.project settings? It’s time! Open game.project, locate the Dependencies section, then click the + icon.
Now paste the URL of the extension we want to install.
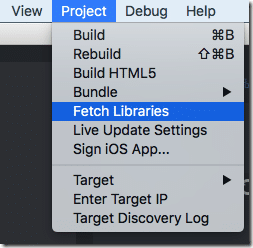
Finally, we want to have Defold install the extension in our game.
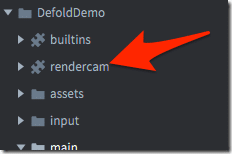
You will notice the extension was downloaded and added to your project.
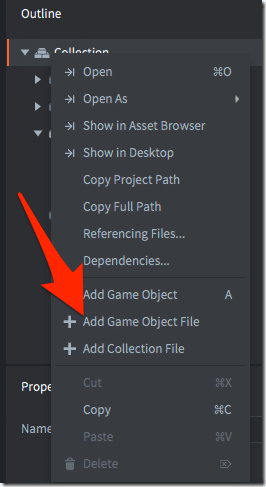
Now that we have render cam enabled, let’s add a camera to our main.collection. Open main.collection, right-click the root of the collection in Outline, then choose Add Game Object File:
In the resulting file, choose camera.go:
One last step…. There is a script responsible for rendering. Defold ships with a default that we’ve been using so far, while rendercam has a replacement version with magic to make the new camera work. Back in game.project, in the bootstrap section, change the Render script to the .render file that was included in rendercam.
Now we have an advanced camera that can do some pretty funky things… like screen shake and more importantly…. Automatically scale our window from one resolution to another. Select camera.script under camera.go:
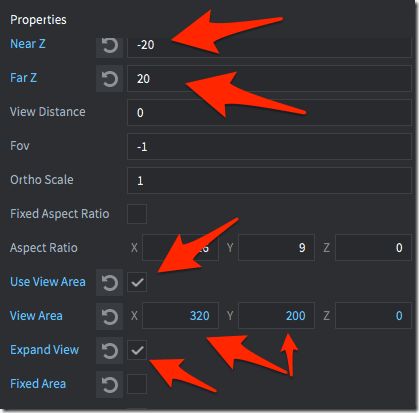
When working with pixel art, you often want to work with a much lower resolution like 320×200, but have it flawlessly remap it to the greater resolution modern hardware is capable of running. Rendercam takes care of exactly this for us. There are a number of settings we want to configure in this script:
The Near and Far Z values match the values we put in the Z-axis for our various different layers (foreground, background, etc). This basically tells the camera how “deep” to look for data to render. We are also working with a virtual resolution of 320×200, which will cause our graphics to be zoomed greatly. So tick Use View area, set the view area resolution, then click Expand view to fill the window to our new virtual resolution.
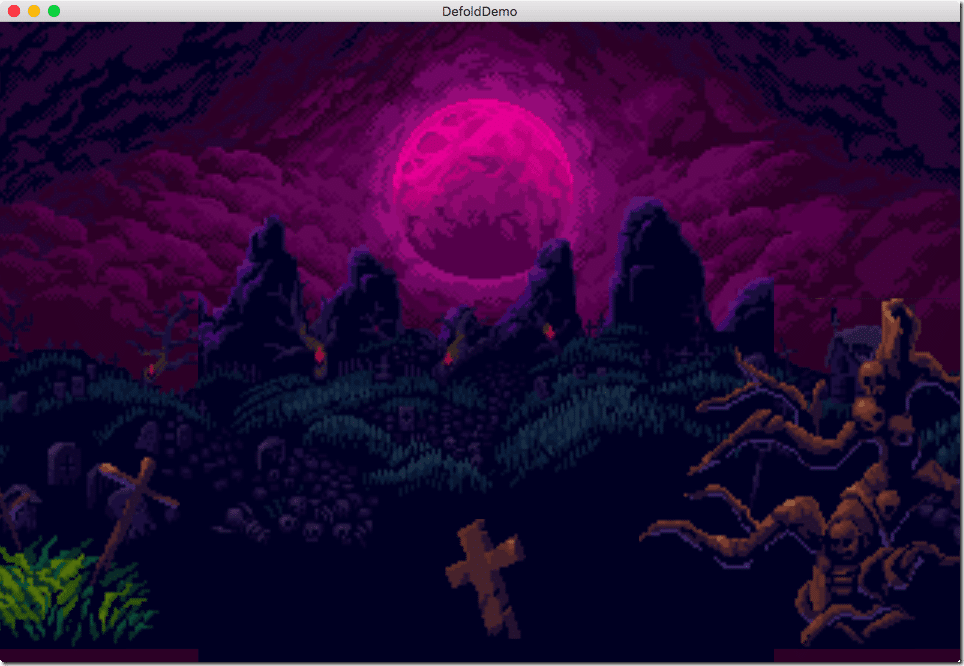
Well, that was a lot… we looked at how to install extensions, installed, added, and configured a camera that makes pixel art look and feel super easy…. So, how’s our game looking now? Hit F5 to find out.
MUCH BETTER! Now we are getting somewhere. Remember earlier when we created a game object for our Player layer and said we’d create the player… welcome to later!

