Now let’s create our first game level. Notice in the assets view, there is a folder called main and inside that folder is a file called main.collection?
Double click that file to open it in the scene view. Collections are important in Defold, both as a way of collecting things together (hey… that name makes sense, doesn’t it?), but also as the basic container for scenes or levels. Every game has at least one collection, which is the entry point of the game.
Remember back when we took a look at game.project? Under the category bootstrap, there is an entry called Main Collection. You can think of this as the level that is loaded when your game is started. If you want to start with a different scene or level (we will do this later in fact), you can change the starting collection here. Another thing to notice is the URL like naming convention. For example, the main collection is called /main/main.collection… this looks a whole lot like a URL you would use in a browser, no? That’s because it is essentially. URLs are extremely important in Defold for uniquely identifying the bits and pieces that make up your game…. More on that later.
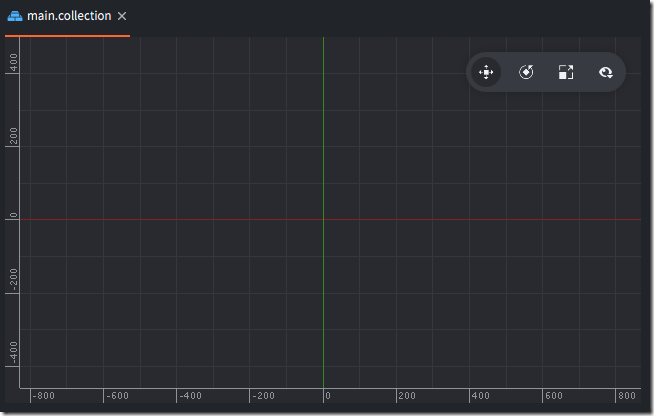
With the main.collection opened, you will notice the editor view changed once again.
This is a 2d graphical view for composing objects in your scene. At the top right-hand corner of the view, you see a number of controls. These toggle between move, rotate, and scale, with the final option being a toggle for what objects are or aren’t visible in the view. You can also control switching between modes using the WER keys. W for move, E for rotate, and R for scale.
Notice the red and green lines in the view? These represent the axis in the Cartesian plane, red being the horizontal (x) axis, while green is the vertical (y) axis. By default in Defold (0,0) is the bottom left and corner of the screen, but you can create your game however you wish. You can zoom in and out in this view using the mouse scroll wheel, while you can pan the view using by holding down the alt key + left mouse button. Ctrl + LMB rotates the view, generally something you won’t want to do.
This reveals an important detail about the Defold engine, however. While it looks 2D, and is used to create 2D games, the Defold game engine is actually a full-blown 3D game engine behind the scenes. This means items have not only x and y coordinates but z coordinates as well. This tidbit will prove useful shortly!
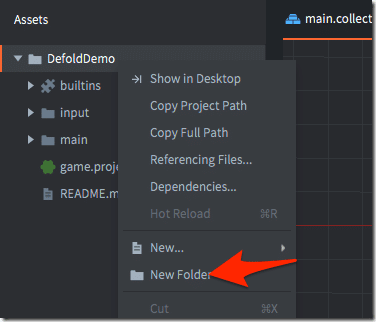
Ok… there was a bit more tool introduction than I meant there… let’s get back to creating our first game level. This is going to require jumping through a few hoops though. First, we need to get some graphics in our game to work with. Let’s keep things nice and organized. Start off by creating a folder to dump our assets into. Right-click the project root in the Assets view, then select New Folder.
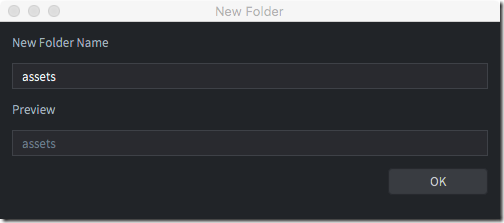
In the resulting dialog, name the new folder assets then click OK.
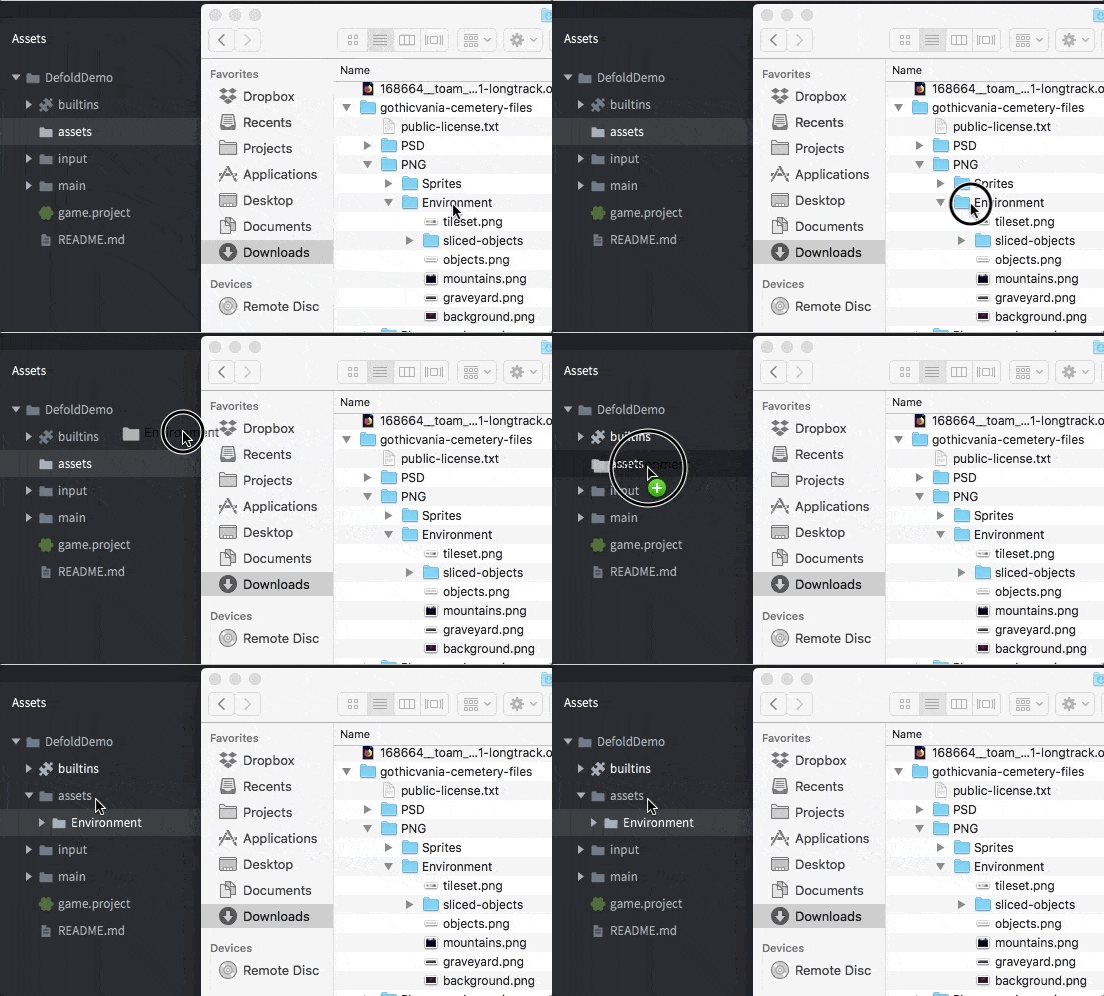
For graphics, I am using the sprite pack I linked at the beginning of this tutorial. Extract the zip file, then locate the folder PNG\Environments. Simply drag and drop this folder from Explorer/Finder to your newly created assets folder in Defold.
Now that we have some graphics to work with, let’s arrange them into an Atlas so we can use them. An Atlas is just a way of organizing one or more images in a format that is game engine friendly. Don’t worry, it’s ultra-easy to do.
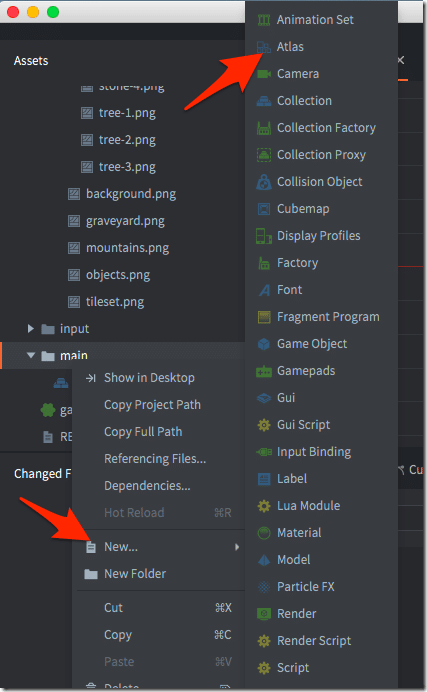
First, pick where you want to create the atlas. Since this is going to be composed of images we are using in our main level, let’s create them in the main folder. In assets view, right-click the main folder and select New->Atlas.
Name it however you want in the resulting dialog:
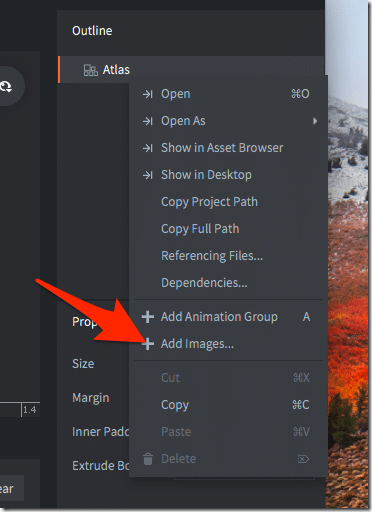
This will open the atlas in the editor view, and more importantly, will display it in the Outline panel on the right side of the screen. Right-click Atlas, then select Add Images:
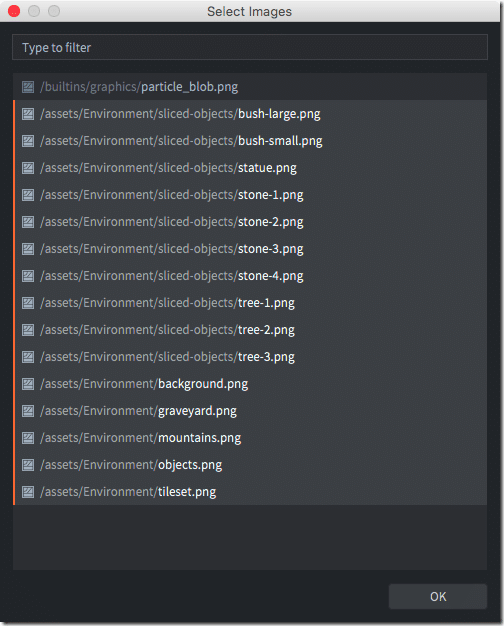
You will now be shown a window with all the compatible files located in the project. Shift-click the first file in our asset directory, then shift-click the last file, to select them all. When done, click OK.
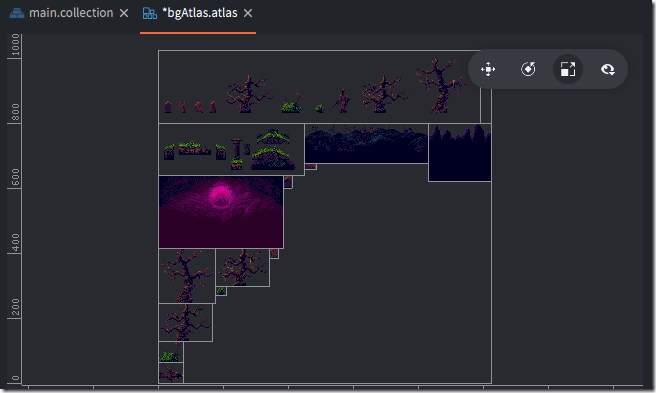
This will now populate our texture atlas, optimally laid out for Defold, as you can see in the editor view:
Don’t worry if the layout makes no sense to you, Defold likes it this way and that’s what matters!


