Now let’s create a title screen. We are going to be covering quite a bit here… creating a scene, displaying our title graphic, playing some background music, creating a simple UI, and switching scenes… so we better get started!
Creating A Scene
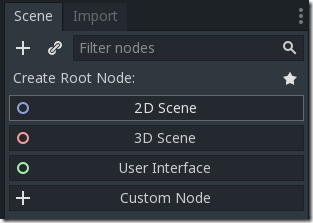
Our first step is to create the first scene in our game. When you first load Godot, in the Scene panel you should see:
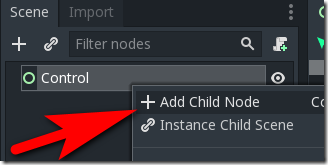
If this doesn’t appear, simply select Scene->New Scene in the main menu. Select User Interface from the list of Nodes, this will create a new scene with a Control node as the root. Now let’s create a node to display our title scene graphic. Right-click the root Node in the scene “Control” and select Add Child Node.
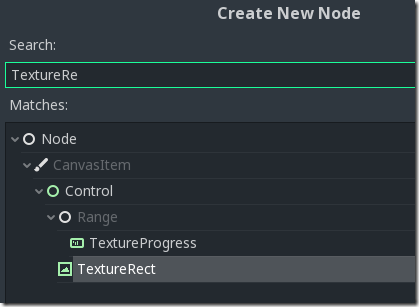
In the Create New Node dialog, select the TextureRect node type.
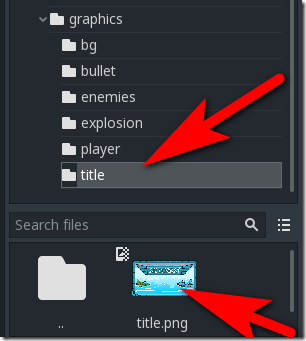
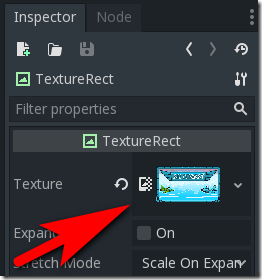
Now we want to assign a texture to our newly created TextureRect. In the file system, locate assets\graphics\title, then drag the file title.png.
Now drop that file into the Texture field in the Inspector window:
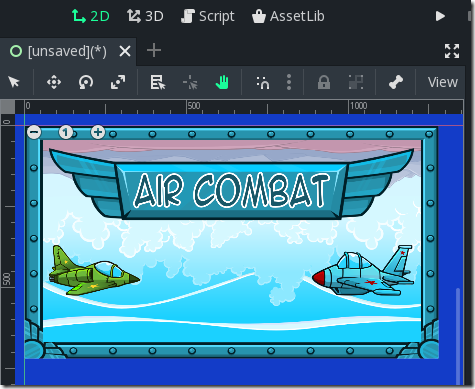
Now in the 2D scene view, you should see the following:
Configuring the Run Scene
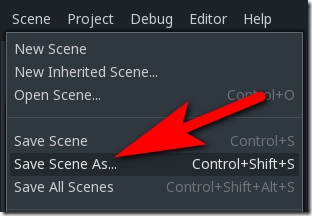
Finally, be sure to save your scene! Select Scene->Save Scene As:
I name my TitleScene.tscn.
Now that we have a starting scene for our game, we need to configure Godot to run our scene when the game starts. Select Project->Project Settings in the menu. Locate Application->Run on the left side, then locate Main Scene and select our newly created TitleScene.tscn.
Running Your Game
Now that we have a title scene created and configured as the Main Scene, we can run our game for the first time. To run your game, simply click the Play icon:
You can also play your game by hitting the F5 key.

