In the previous Animation tutorial, we looked at how to use animated objects in Armory and I mentioned a few times that the setup process was perhaps the biggest tripping point when trying to get animation to work. In this tutorial, we are going to show that process. Although this tutorial is technically 100% about Blender and not Armory, this is a key requirement to get animation to work, so let’s take things step by step and create a simple Armory ready animation.
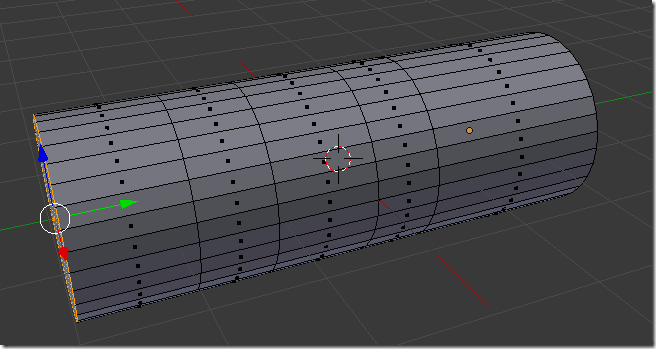
Let’s start things off with a simple model that we are going to animate. I create a simple multi-segmented cylinder like the following:
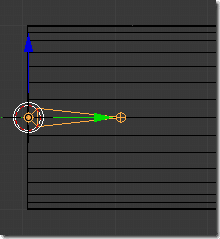
Now create a new Armature ( Add->Armature->Single Bone ) like so:
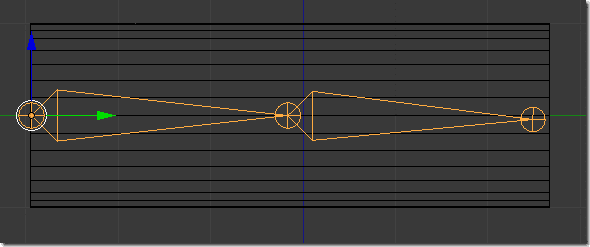
Now in edit mode, select the end bone, move it, then (E) extrude the tip so we have a rig like the following:
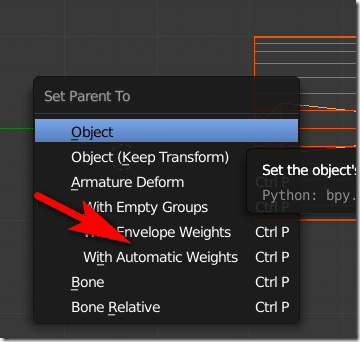
Next switch to Object mode, select the mesh, then Shift-click to multi-select the armature in addition to the mesh, then hit Ctrl + P to parent the mesh to the armature and select With Automatic Weights:
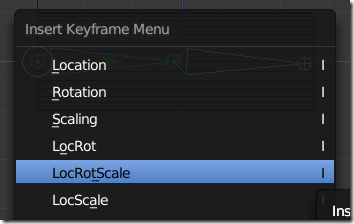
We are now ready to start creating our animation. Now it’s time to start animating our scene. Select the armature and switch to pose mode. Hit A to select all the bones in our armature, then select I to insert a keyframe, select LocRotScale (overkill but… meh).
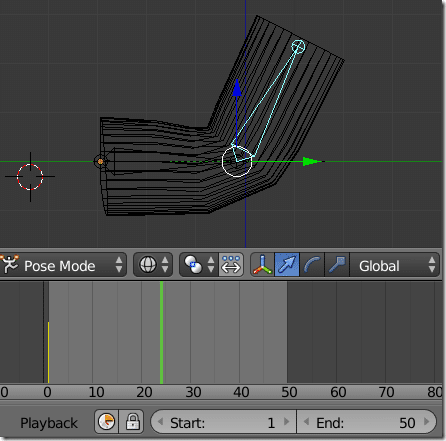
This creates a new keyframe at frame 0. Now lets advance to frame 25 and in pose mode modify things(move, scale and rotate our controlling bones), then select all the bones and set another keyframe, like so:
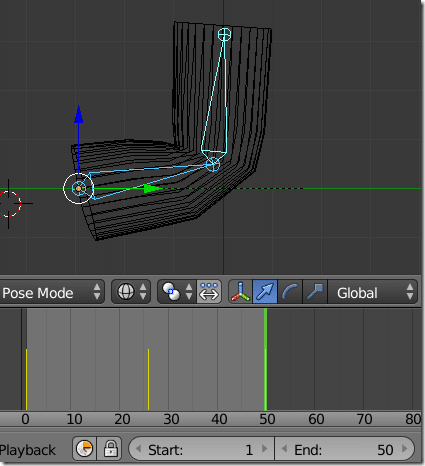
Now repeat again at frame 50 so we have a lame but well-defined animation.
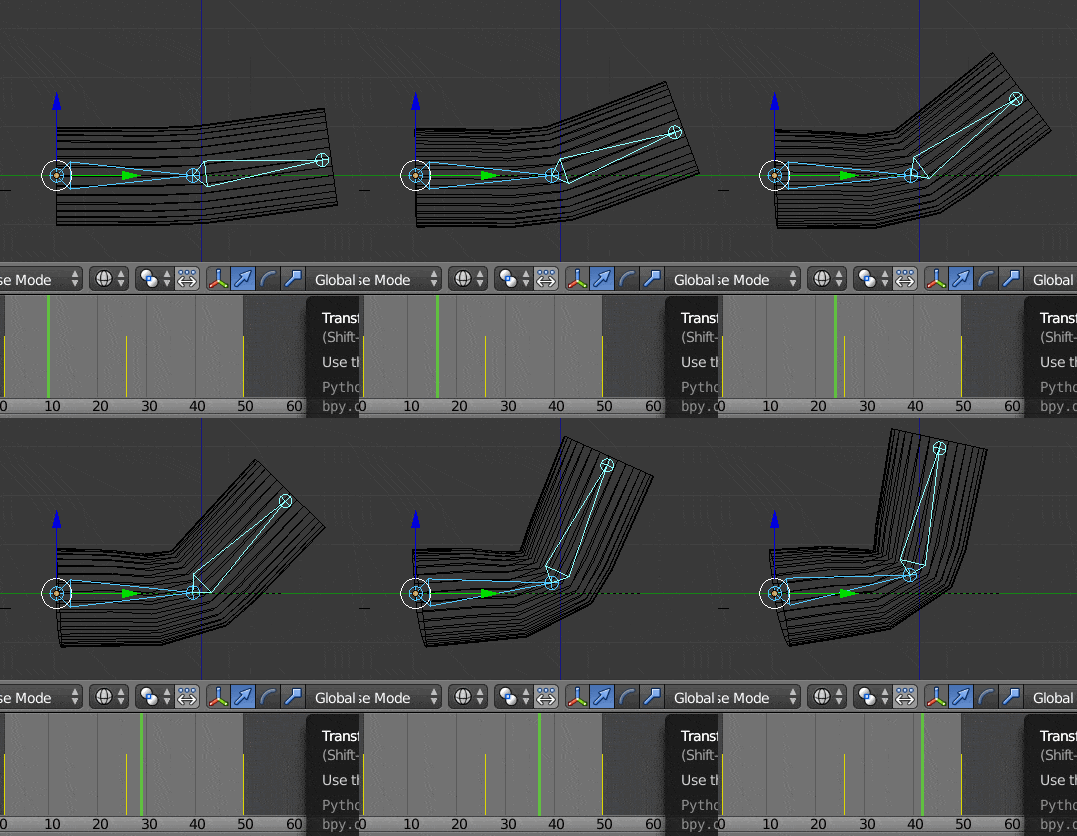
And preview our animation:
Now switch to the NLA Editor, double click ArmatureAction and rename it to Bend. Now click the Push Action Down icon:
Now select the newly created track NlaTrack and rename it Bend:
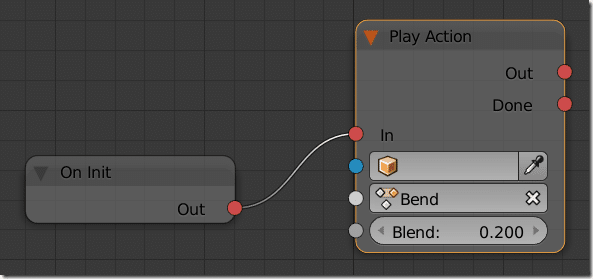
Hit N to bring up the Properties panel, and rename Action Strip to match Bend if it isn’t already. Now you should be able to access your animation strip by name using Armory nodes:
Now let’s look at adding a Marker to our animation. Switch to the DopeSheet view and select Action Editor.
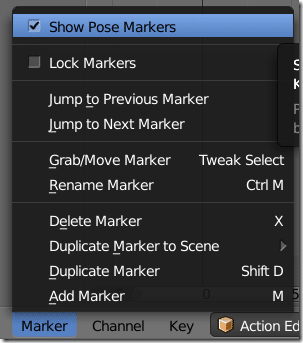
Now select Marker->Show Pose Markers
Now in the timeline select about the midpoint (frame 25 in this example) and hit M (or select Marker->Add Marker). Now with the newly created marker selected hit Ctrl + M to rename the marker:
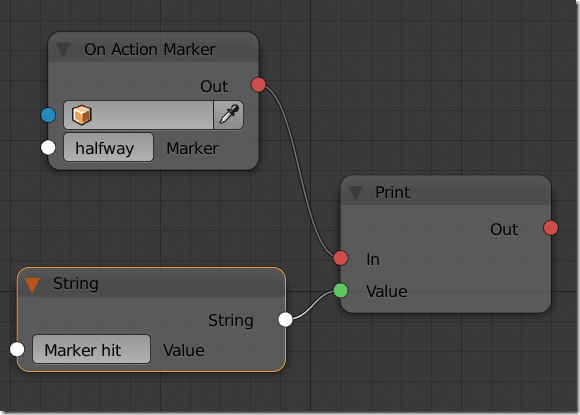
Now with a marker defined you can respond to it with code like so:




Thank you.
As of Armory_05alpha_win64_b27 in order to get the action strip to work:
5b6eed34645c7d9390810800.png
Markers doesn’t seem to work as this point.