Now let’s add a bit of sexy to our game level, by starting with a countdown, then dynamically creating a player object when the animation is over. To pull this off we are going to have to create a state machine of sorts for tracking what our game is currently up to. So first off, let’s delete the Player instance we just added to our level, we will be creating it dynamically.
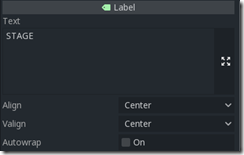
Let’s start things off by creating a new node of type Label and center it in the middle of the viewport. With your newly created Label, set the following properties in the Inspector:
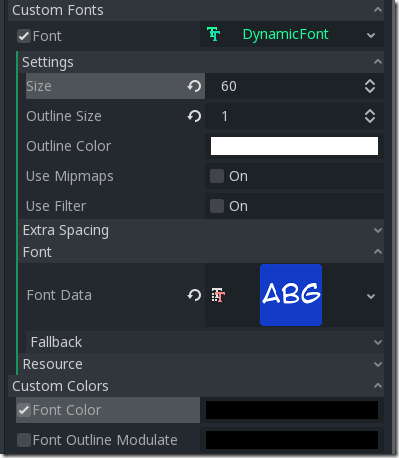
Now we need to configure the Font to use with our Label. We are going to use the same font we used on the main menu. Additionally set the Size to 60, outline to white, Outline size to 1, drag the ttf file over the Font Data field and finally slightly lower down expand Custom Colors, tick Font Color and select black:
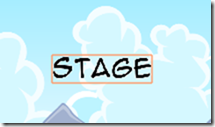
The final result should look like:
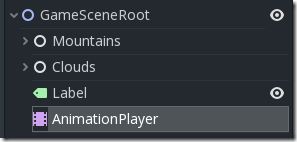
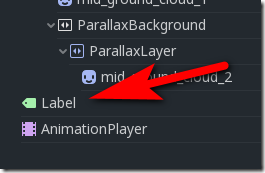
Now at the beginning of our level, we are going to fade in the newly created label. To do this, we now need to add a new node called AnimationPlayer to our level. At this point your scene hierarchy should look like:
With the AnimationPlayer node selected, the Animation tab should be displayed near the bottom of the window:
Now we can create a new animation to control the display of our Label.
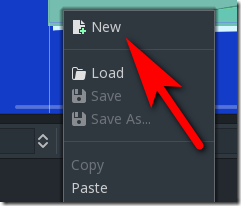
Click the Animation button. A menu will pop up, select New:
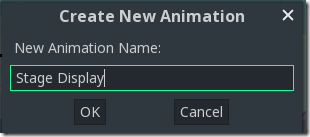
When prompted, name the animation Stage Display:
We will start by setting the duration of our animation. Locate the duration field to the right of the stopwatch icon and set it to 4.
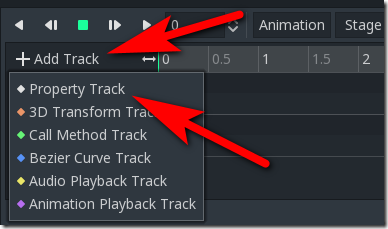
Next, we want to set which node we are going to animate. This is done by clicking the +Add Track button, then select Property Track:
Next, select the Label in the resulting dialog.
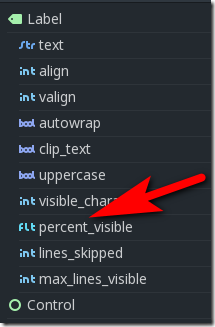
Next select percent_visible as the property to animate.
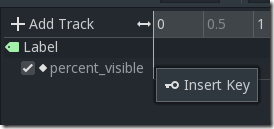
Now we are going to want to define a number of keyframes across the 4-second timeline. Right-click in the timeline and select Insert Key.
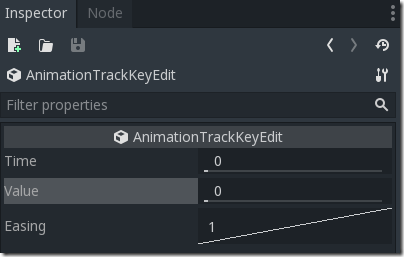
This will create a dot or tick on the timeline where we just created the key. Left-click the new click, then in inspector set Value to 0.
Now repeat this process at the 3.5 second mark, this time setting the value to 1. The end result should look like this:
You can now preview your newly created animation using the VCR style controls.
When our animation ends, we are going to call a function called startAnimationDone() that will fire up our level once the animation stops playing. Of course, we are going to have to create this function. First, we need to create a new script in our GameScene, attached to the root object in our scene.
Next, in the newly created script, create a new function called startAnimationDone(). Don’t worry about the contents of this function, we will get to the code in a second, for now just call pass. Now that we’ve created our function, we can call it as part of our animation.
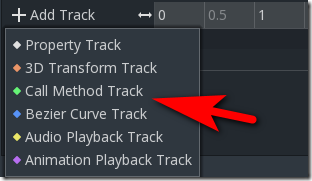
To do this, we once again click +Add Track, this time selecting Call Method Track:
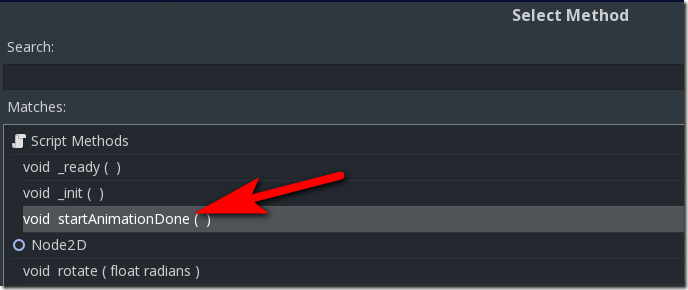
When asked for the node, this time select GameSceneRoot. Now at the 4 second mark in the Functions track, left click and create a new Key just like before. This time it will prompt you for what function you want to call, select our startAnimationDone function:
We will revisit and add features to this code shortly.

